Disclosure: We may earn commissions at no cost to you from qualifying purchases made via the product links in this article.
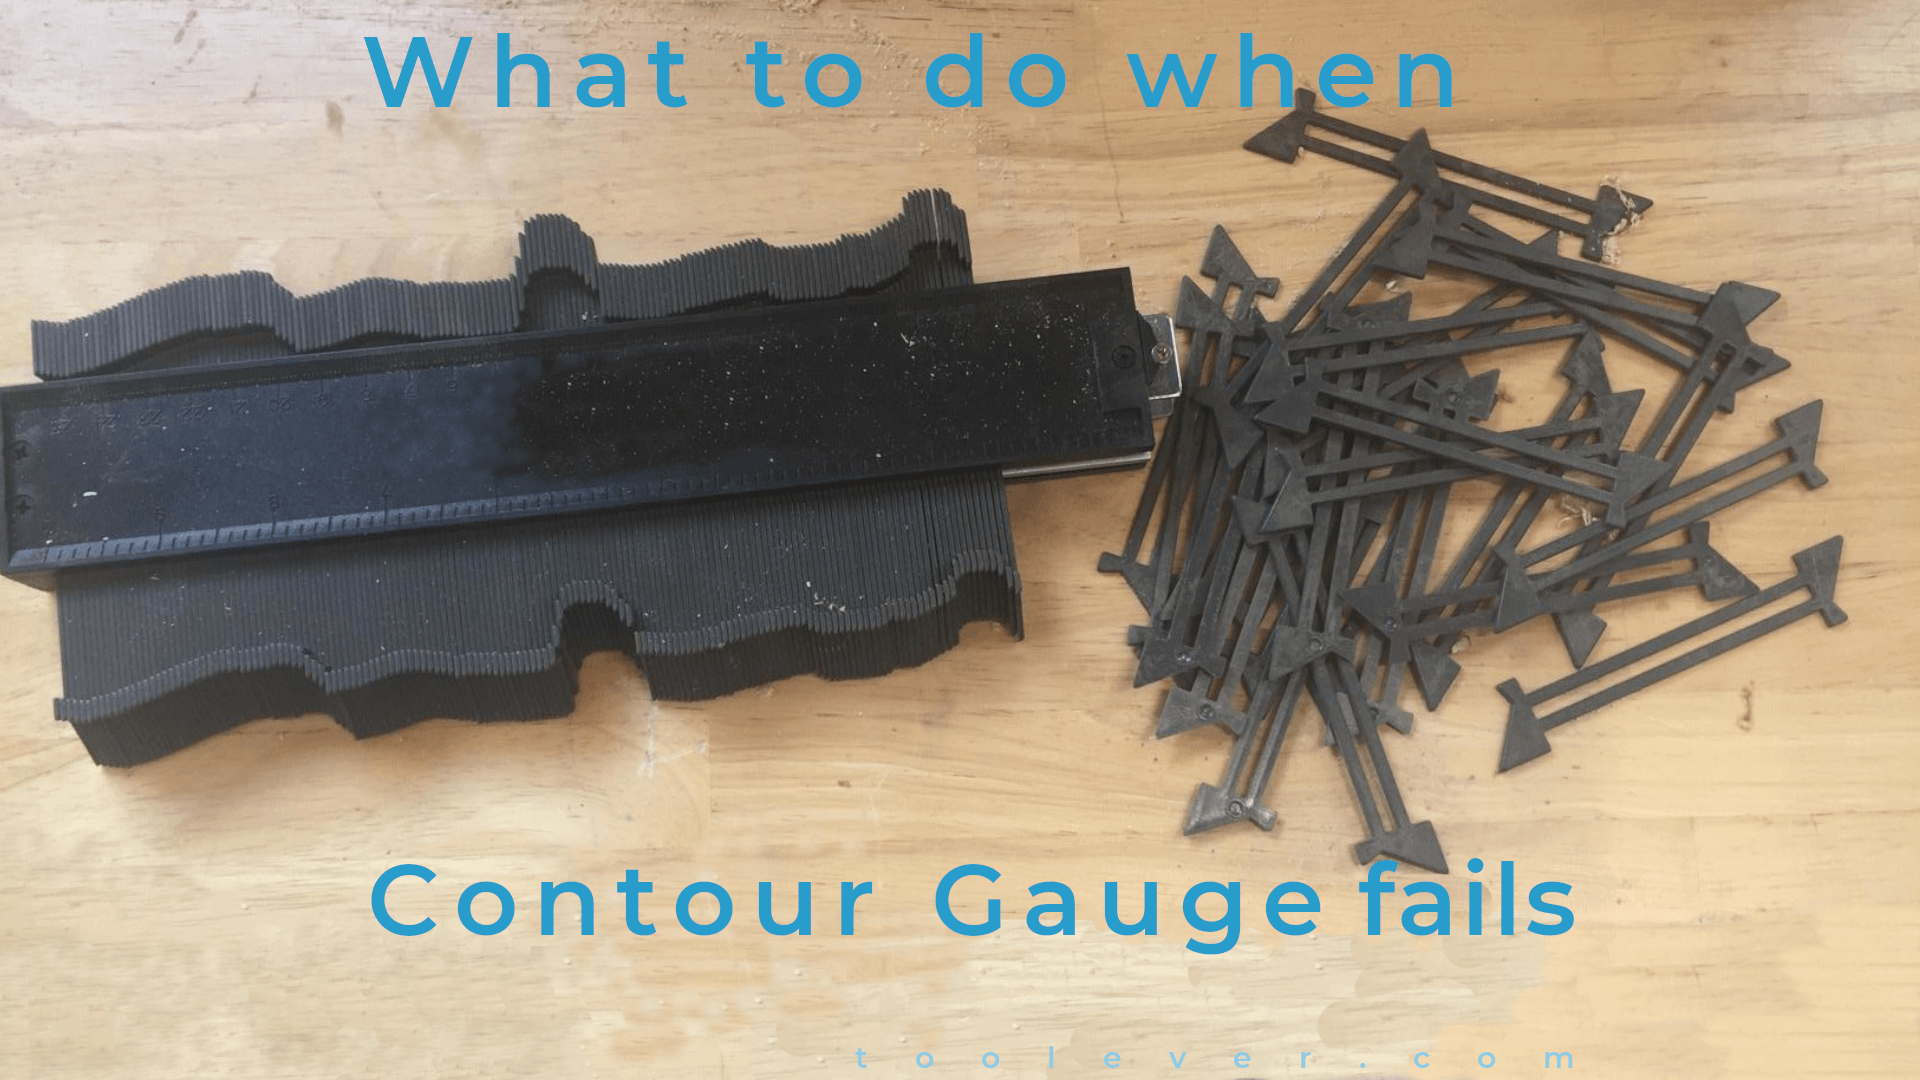
Sometimes tools can frustrate you. A friend of mine bought a plastic contour gauge to duplicate the contours of the wall to a board that he would use as the side of a custom shelf he was building. He wanted the board to sit flush without damaging the wall trim in his rented apartment. Unfortunately, he ended up with a cut that was totally out of fit.
I imagined that probably the teeth of his contour tool were not tight enough or the tines were too thick to capture detail. Hence failing to duplicate the pattern accurately.
So, when this friend reached out to me for help, I gave him this simple and easy method of contour scribing with a drafting compass.
I learned this carpentry trick from an old man who has been doing carpentry for the last 40 years. I have used the method severally and it works like a charm.
And now my friend could not help but marvel at how easily this simple hack worked in duplicating the irregular patterns on the wall onto the board. He was indeed very happy to learn another way to copy contours from an irregular surface using a drafting compass.
How To Copy Contours With A Compass
This is how to use a drafting compass as a contour gauge to duplicate the contours of a wall to the board you want to fit.
Tools you need
- 1. Sanding sponge
- 2. Precision drafting compass
- 3. Circular saw or miter saw
- 4. Jigsaw
Procedure
Step 1: Make a 45-degree bevel cut on the board

Use your table saw, circular saw, or miter saw to make a 45 degree bevel cut on the edge of the board. This is the edge that will sit on the contoured surface.
Let the bevel slope to the bad/back side of the board so that it will not be seen from the front/facade when you fit the board.
Although this step is optional, it is a very useful tip when working with thick wood or boards.
The bevel minimizes how much a jigsaw will work since it reduces the cross-section across which the saw will cut. This enables you to guide the blade of the jigsaw a lot better than if you were to cut through the entire thickness.
Overall, bevel cutting the board beforehand offers one big advantage. It reduces the depth of cut for your jig saw by half, effectively reducing stress on your jig saw tool.
The good thing is that this technique doesn’t compromise the structural integrity of the board in any way.
In other words, making the 45-degree bevel on the board facilitates the cutting process without affecting the board’s strength and stability.
Step 2: Set the drafting compass

Adjust the guide/needle and the lead of your precision compass so that they stick out about half an inch or so. This will keep the body of the tool from touching the surface while you trace the contours, which could cause errors in reading the patterns.
Next, open your drafting compass to set apart the guide and the lead. The gap between the lead and the guide of your compass should be such that the lead sits at the center of the bevel length.
Step 3: Transfer the contours to the board
Position the board perpendicular to the contoured surface with the beveled side pressing against the surface. Then place the compass at an angle so that the guide will pierce the wall while the lead runs on the edge of the board.
Now drag the compass at a consistent angle so that the guide will move along the contoured surface while the lead scribes the board to transfer the pattern.
Use the same consistent downward motion and make a dark line on the board so that when you go to cut, you will have a definite line.
The lead will draw on the board exactly what the guide reads from the irregular surface.
Step 4: Cut along the scribed contour line with a jig saw.
Place the board on the jigsaw table and cut gently along the scribed line with a jigsaw. Be careful to ensure that you guide the jigsaw blade accurately.
Step 5: Clean the edge with a sanding sponge
After making the cut with the jig saw, use a sanding sponge or any other sander of choice to gently smooth out the cut to get a clean edge.
If you do not sand, you will end up with a rough cut that may not fit perfectly.
Step 6: Fit the board!
Now fit your board onto the contoured surface. It should fit near perfectly if not perfectly.
This is how you use a compass to scribe contours onto a board when you do not have a contour gauge or when the contour tool fails to live up to its name.
Final Words
There you have it! I hope you as well have learned how to duplicate contours on a board for a perfect fit without using a contour gauge.
Thankfully, I came across a video showing the exact steps I have outlined in this article. You can watch it if you learn better by seeing and doing.